Marketing
The top 3 marketing challenges for small businesses (and how automation can solve them)
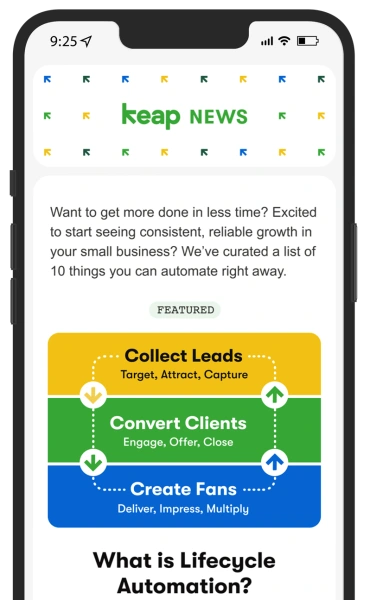
Do you ever wish you had a crystal ball to predict future problems in your business? If you could know...
Latest Blogs
Pick up recent small business trends and advice from our latest blogs.

Business Management
How to succeed in small business without sacrificing your personal life
Apr 15, 2024 · 6 min read
Customer Service
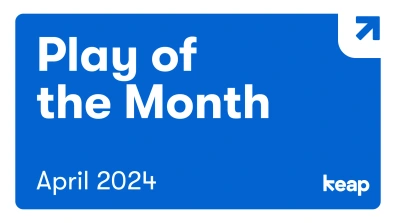
Play of the month: The power of dynamic email content for BarMD
Apr 05, 2024 · 4 min read

Marketing
Boost your SEO in 2024: Short-form video tips for high engagement
Apr 04, 2024 · 9 min read

Sales
How a small business CRM can help coaches and consultants close more high-value sales
Apr 03, 2024 · 8 min read

Business Management
Maximizing ROI: How to get the most value from your CRM for small business
Mar 21, 2024 · 11 min read

Business Management
The life-changing magic of business automation: Simplify your work with this method
Mar 19, 2024 · 8 min read
Subscribe to our newsletter
Sign up here for useful content, relevant posts, special offers, and upcoming events, delivered right to your inbox.